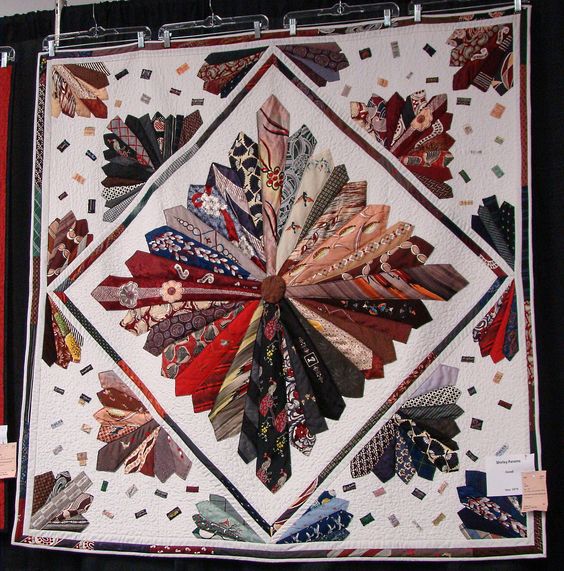
How to make a tie quilt
Turn your collection of vintage ties into a cozy and stylish masterpiece with our captivating guide on creating a one-of-a-kind tie quilt.
Unleash your creativity and recycle those forgotten ties in a fun way! Here’s the irresistible script to kickstart your project:
Cool Materials:
- Vintage ties (quantity depends on the desired size of your quilt).
- Stylish fabric for lining and binding.
- Quilt batting for a flawless finishing touch.
- Your trusty sewing machine.
- Vibrant threads to bring your project to life.
- Sharp scissors for precision cuts.
- Rotary cutter and mat (optional, but a crafty move).
- Ruler to keep everything aligned.
Step-by-Step Guide for Your Crafting Journey:
- Tie Parade:
- Assemble a unique collection of vintage ties. It could be from your own collection, a thrift store find, or contributions from friends and family.
- Preparation with Style:
- Carefully disassemble the ties by cutting the stitches on the back to obtain long strips of tie fabric.
- Cutting Elegance:
- Choose the size of the quilt blocks, whether 4×4 inches or 5×5 inches. Use a ruler and rotary cutter to create perfect squares. Random pattern mix or strategic organization? You decide.
- Color and Pattern Showcase:
- Arrange your tie squares in a layout that makes your heart beat faster. Play with colors and patterns until you find the perfect combination.
- Stitching with Flair:
- Sew the squares to create harmonious lines, using a 1/4-inch seam allowance. Your seams can go open or to the side, it’s up to you!
- Construction of the Marvel:
- Join the sewn lines to create the majestic quilt top. Ensure the squares are aligned like stars in the sky.
- Layers of Sophistication:
- Cut the backing fabric and batting to match the size of the top. Assembly: bottom, batting, and top (right side up).
- Quilting Artistry:
- Turn your quilt into a work of art by quilting in the ditches or following your preferred pattern. Use your machine or hand-sew for a personal touch.
- Glamorous Finishing Touch:
- Add binding strips to the edges, providing a polished and elegant look to your masterpiece.
- Perfection is Key:
- Trim any excess batting and backing fabric. Align the edges for a flawless finish.
- Stylish Finalization:
- Hand-sew the binding to the back for a finishing touch worthy of an atelier.
- Spa Day for Your Quilt:
- Gently wash the tie quilt and press to soften it. Now, it’s ready to shine as a true personalized work of art.
Remember: the number of ties you collect determines the size of your creation. From small wall tapestries to family-sized quilts, your imagination is the only limit. Enjoy the process of preserving memories and creating a quilt that tells your story in a unique and enchanting way.